 Lieber auf Deutsch? Hier lang.
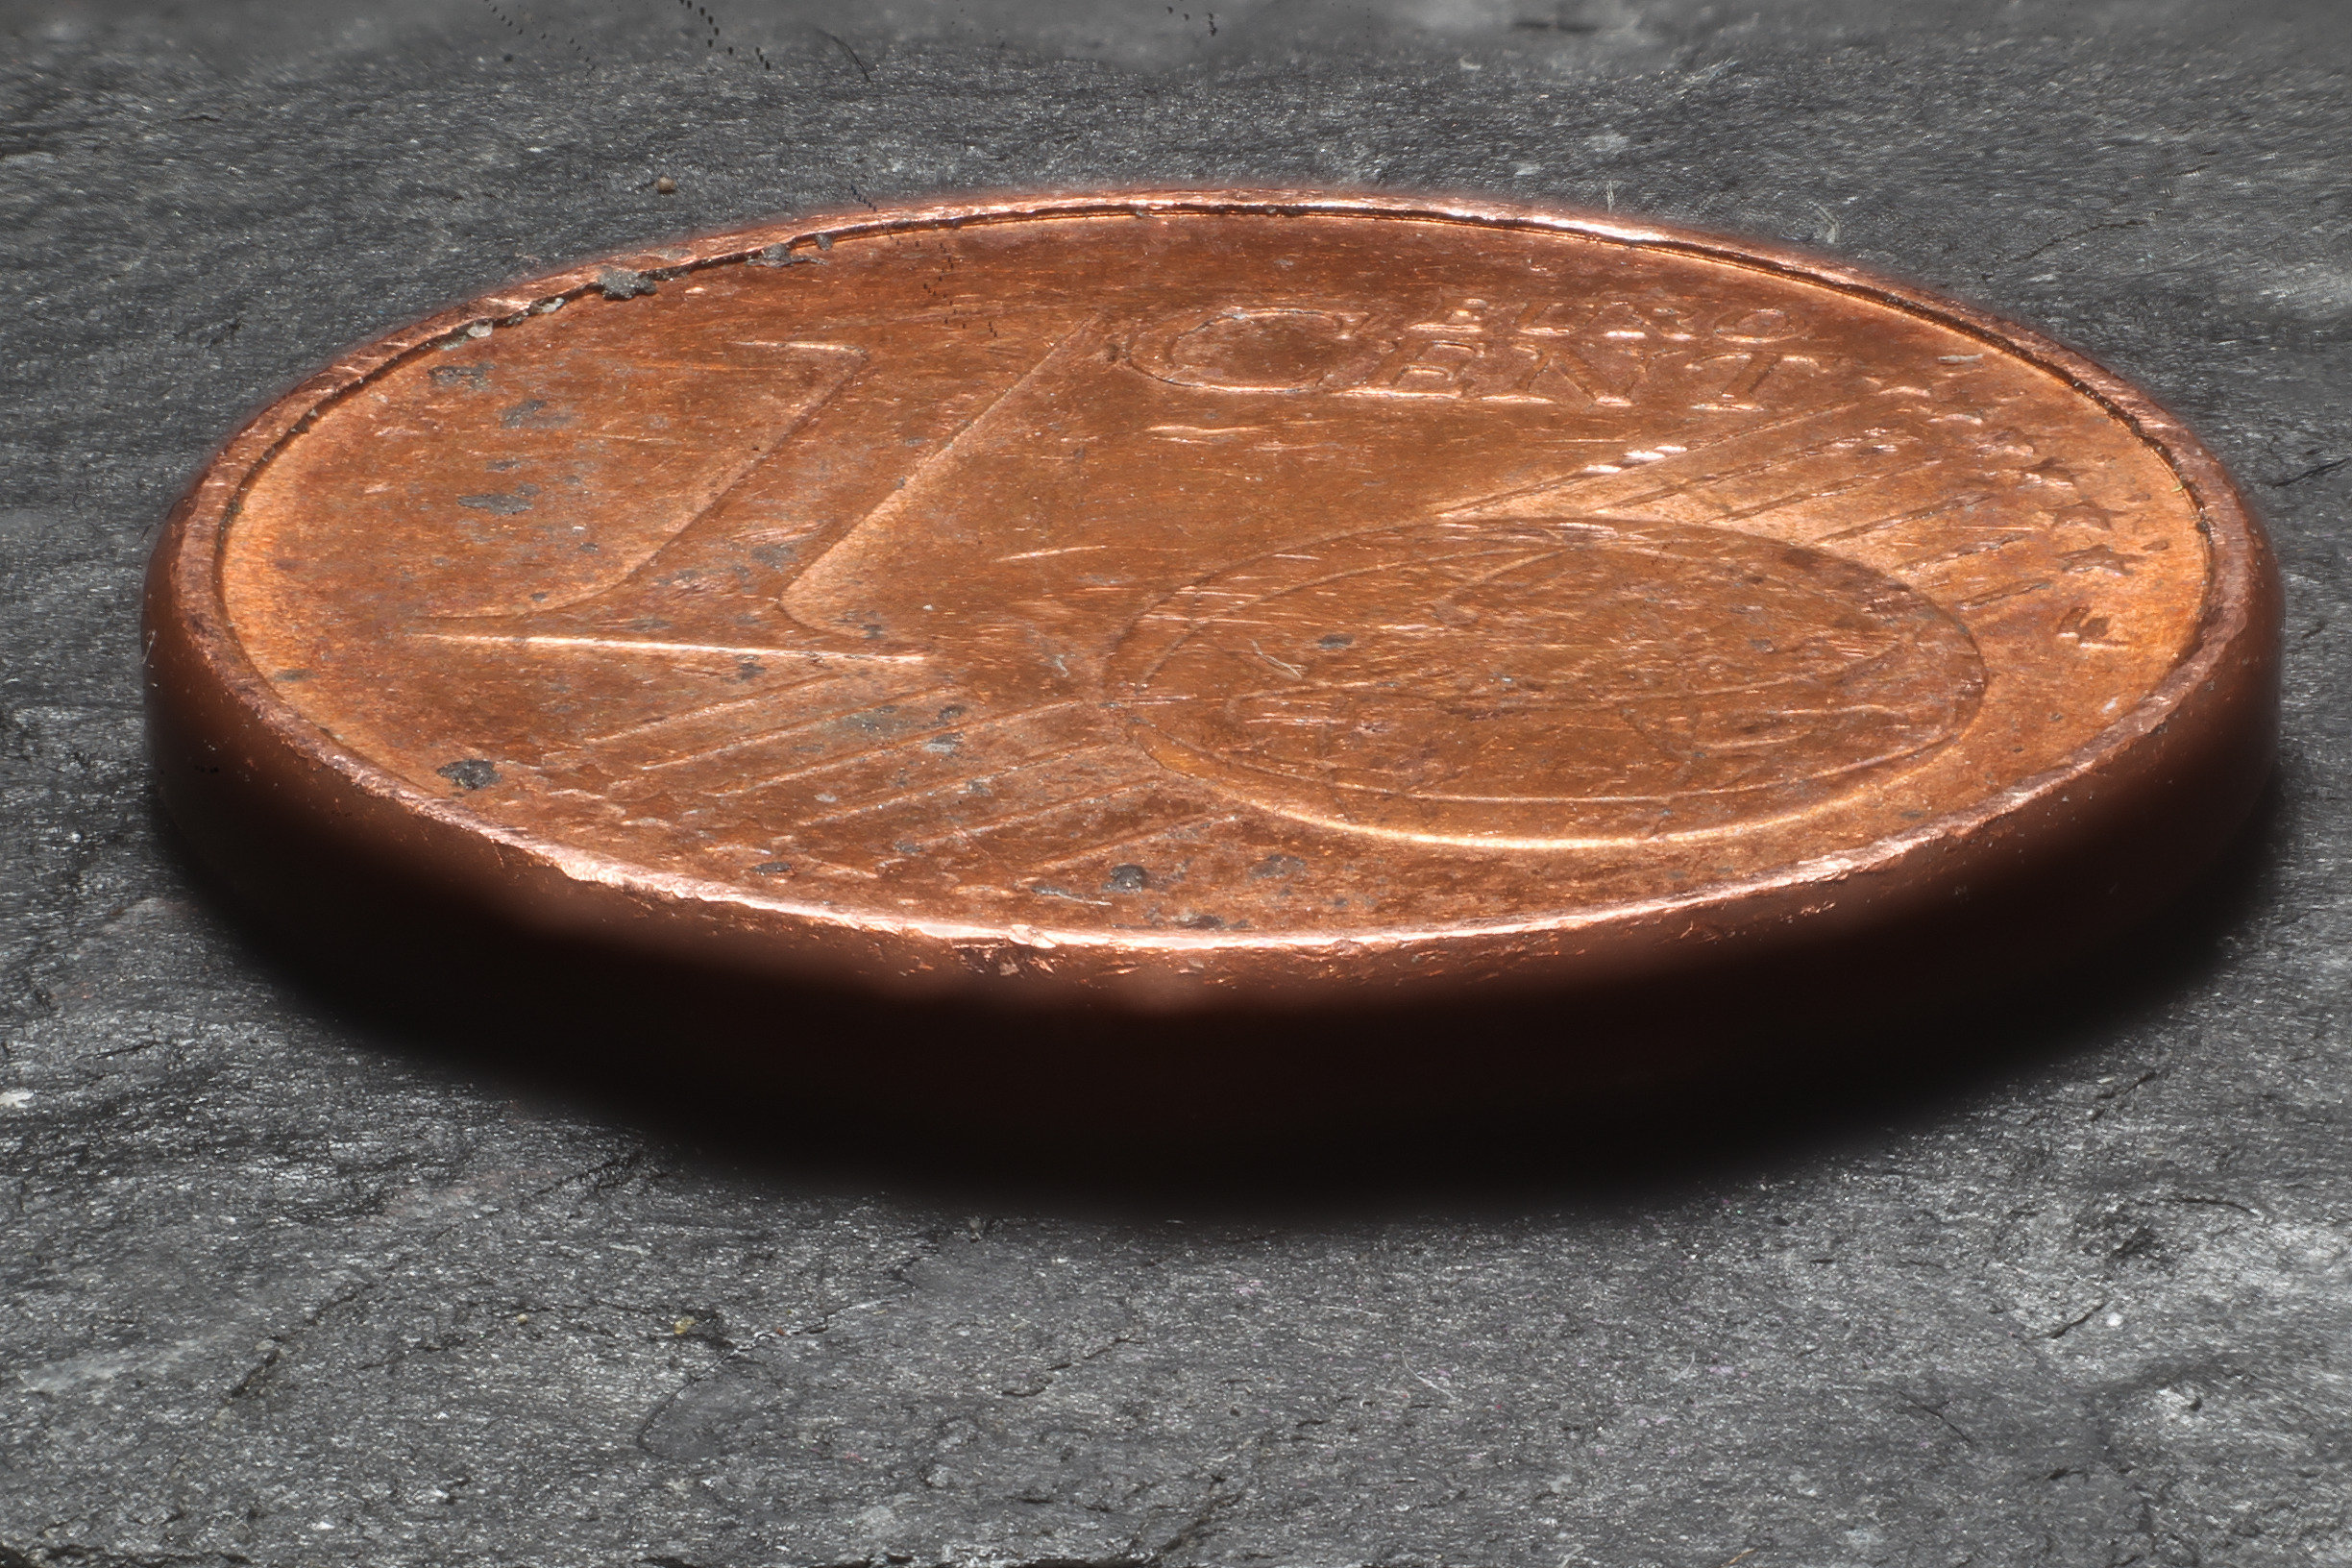
One of my biggest – although in recent years very neglected – hobbies is photography. I have always been attracted by the technology and the possibility to explore its limits. Examples of this are the high-speed flash trigger (German only, sorry) I built almost 20 years ago (at that time without a microcontroller (!)), or my darkroom where I pushed the good old Kodak T-Max P 3200 far beyond its limit.
A topic that has always fascinated me is macro photography. With my first SLR – an heirloom from grandpa, a full-manual camera from Revueflex – I had already found a set of extension tubes. Simple ones, with M42 connection, but they got me hooked. After entering the EOS world, I bbought an adapter to use the tubes and lenses on the newer camera, then at some point at a photo fair also an old bellows. And another one. 
Boss Monster Depth of Field
One problem when taking macro photos, regardless of which technique you use to go to the extreme, is the lack of depth of field. It’s not uncommon to be dealing with millimeters or even fractions of millimeters. “In my day,” that is, in the analog photo world, you couldn’t do much against that. Nowadays, however, people shoot digitally. So at some point, someone came up with the idea of focus stacking: you don’t just take one picture, you take a whole stack of pictures. Each with the focus in a different plane. You then load this stack into an image editor and tinker with it until you have only the parts that are in focus – and thus an image with a significantly extended depth of field.
Of course, you don’t always want to spend half a day clicking around in Gimp, so resourceful developers have written programs that do the job. There are commercial solutions, but I stuck to open source.
Stack photography with Arduino
What I built is not new. You can buy such devices from various commercial manufacturers, there are also quite a few well documented tinkering projects. Some of them even with practically the same hardware I used. Why did I do it myself anyway? Simply because I wanted to know if I can do it.
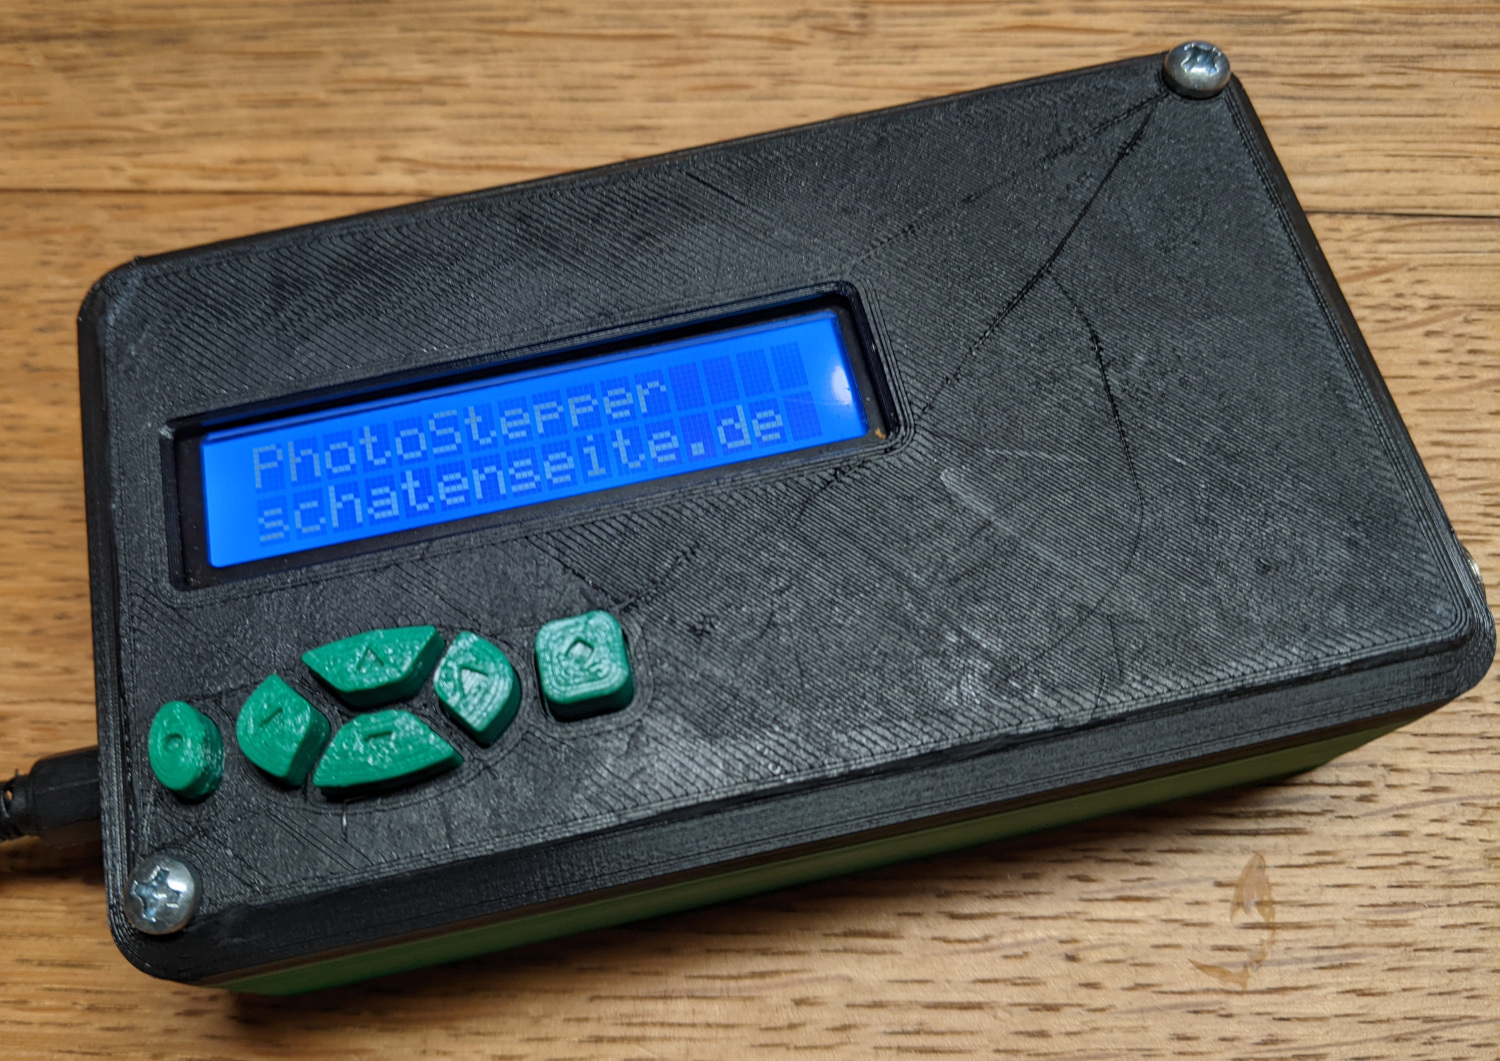
So I fished an old Arduino Uno out of the big box of leftovers, plus a LCD keypad shield I bought sometime without really knowing for what. With a stepper motor driver (A4988) and a motor I still had from another project I could try out how it all works together. I could have connected the Arduino directly to the cable release connector of my camera, but that was too exciting for me, considering the 12V supply voltage. So I did that using two optocouplers (PC817).
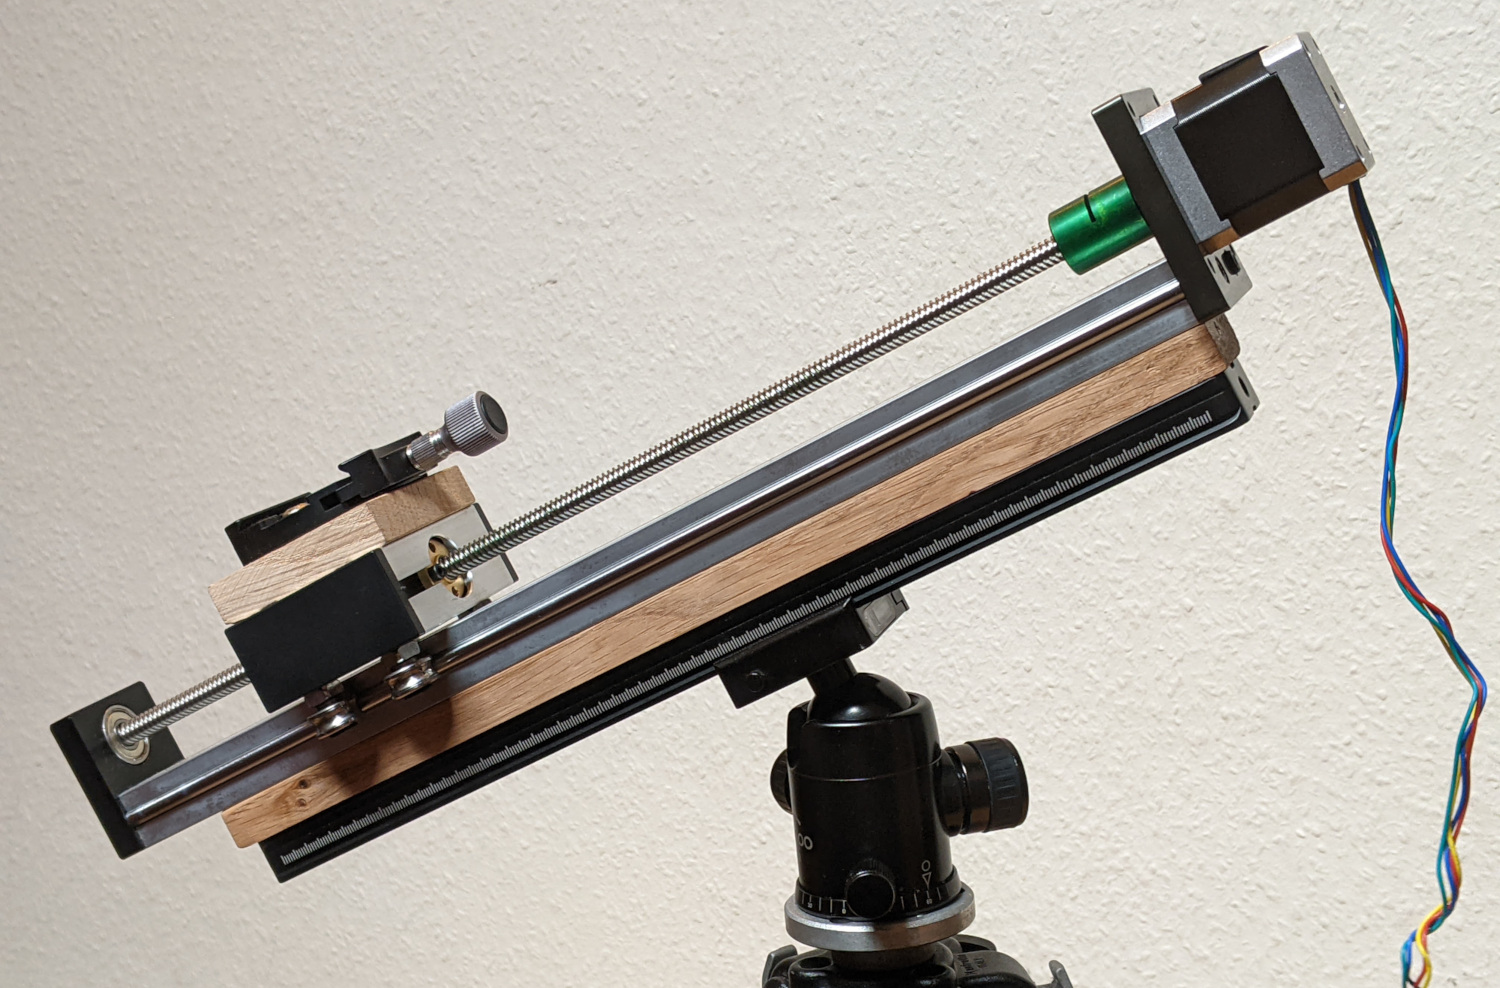
The prototypical tests worked well, so I printed a case and looked for some suitable mechanics. I was able to get a linear actuator including motor practically as a bargain. Plus a rail for mounting on the tripod and a clamping plate to mount the camera on the slide. And since I am more a carpenter than a mechanic, the connections between the parts are made of rustic oak.
The parts are just like my tripod Arca-Swiss compatible (another term that did not exist “in my time”), so the base plate can stay on the camera and everything is quickly and stably set up.
Photo Session

My first subject – a rather dirty Euro-cent – was not original, and the setup is quite crude. Camera with bellows and a 58mm lens from my grandpa’s heritage on the linear drive, a radio triggered flash facing the “model”.
I setup the camera and roughly focused on the coin. Then I set camera and flash to manual mode and selected the right exposure. Up to here nothing unusual.
Then my new device came into play: I moved the camera forward a bit so that the plane of focus was clearly behind the coin. Then I set the device to take 30 pictures, each 1mm apart. So I covered 3cm – enough for the coin, but when you look at the finished shot not enough to stay sharp to the top of the image. Too bad, but it’s just a test.
One minute – and a dance of joy behind the camera – later, 30 pictures are in the can.
I drag them over to my computer and edit them with two tools: align_image_stack from the Hugin package makes sure that all images are aligned and resized. The camera moves away from the subject during the shooting, so the subject gets smaller and smaller. This would greatly avert the stacking.
This is done by enfuse from the Enblend project. And it does it amazingly well, I think. Not perfect, though: at the top of the image there are still some artifacts from the processing. But really amazingly good. Especially for a first attempt.
The whole she-bang?
I’ve posted the complete project, including the source code and a description of the electronics.
There you can have a look at everything in detail, and I’m always open for improvements.
Now what…?
To be honest, I don’t really have anything important to photograph with this thing. I have a few ideas, but I was mainly interested in building something like this. Done. Check.
I also know that this is not a groundbreaking invention. I know that there are some modern cameras that already have a focus stacking function built in. If you really need something like that, you will probably go for such a model. My “oldie” from 2009 can only do that with this tool.
Since I just control a stepper motor and the camera with the device, I can imagine to operate it with some kind of a lazy susan. So I could take controlled photographs from all sides. I don’t know yet what I would need that for, but maybe this will develop again sometime in the direction of photogrammetry, so maybe a tool for creating 3D models. Let’s see…