This text wasn’t part of the blog in 2009, I copied it from my old CMS in 2015.
My etching tank
Preparing the layout
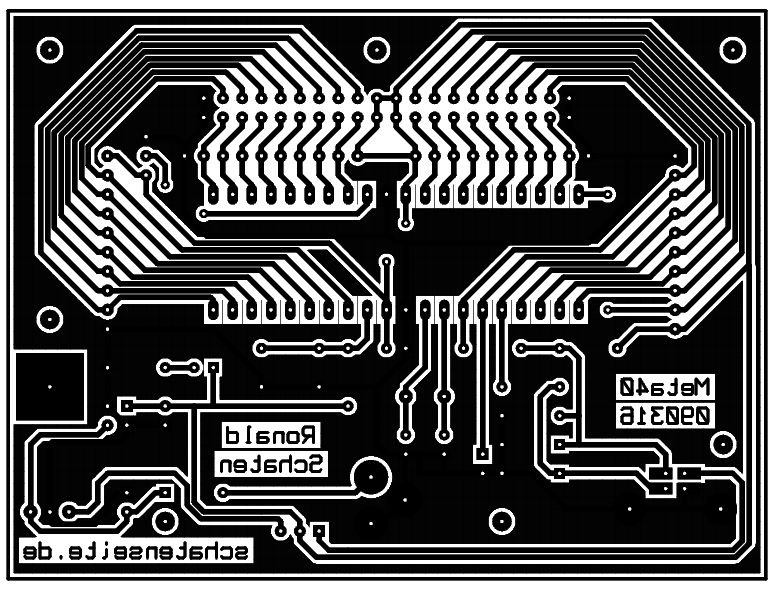
One of my first own layouts
Many people use Eagle CAD for this job. It’s a great tool, but the free (as in beer) version has the handicap that it can only do layouts for half euro cards (that’s 8x10cm). You can do a lot of things on that amount of space, but at least for my Dulcimer project I needed more.
Meanwhile, I got used to KiCad. The usability is even worse than Eagle’s, but if you take your time and if you are kind to the program, it gives nice circuits and board layouts to you in return. And the killer advantage: it’s free software.
Exposure
Exposing the photo sensitive material is a bit tricky. I tried several methods, and I think I reached what I consider to be the optimum.
First the layout has to be printed. I made my first tries with simple paper, printing with my Laserjet 5. After not seeing any results on the boards, I tried coating the paper with oil to make it more transparent. Using a nitraphote lamp it would probably work with an exposure time of 50 minutes or so, but that seemed to be too long in my opinion. I got really good and quick results with overhead slides. With my first tries, I put two prints on top of each other, later I found that to be unnecessary, one layer is enough.
-

- The board…
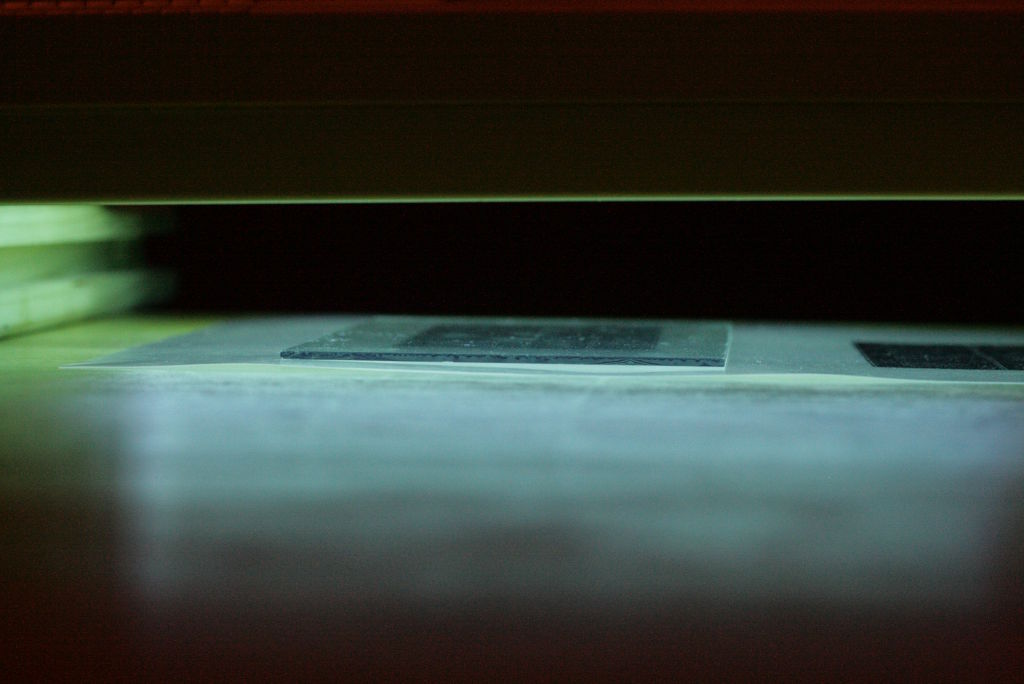
-
- … beneath the tanner
There’s even more choice with the source of light. What didn’t work at all was a 500W halogen lamp. Other people had more luck with that, but I guess that mine has a safety glass that blocks UV light.
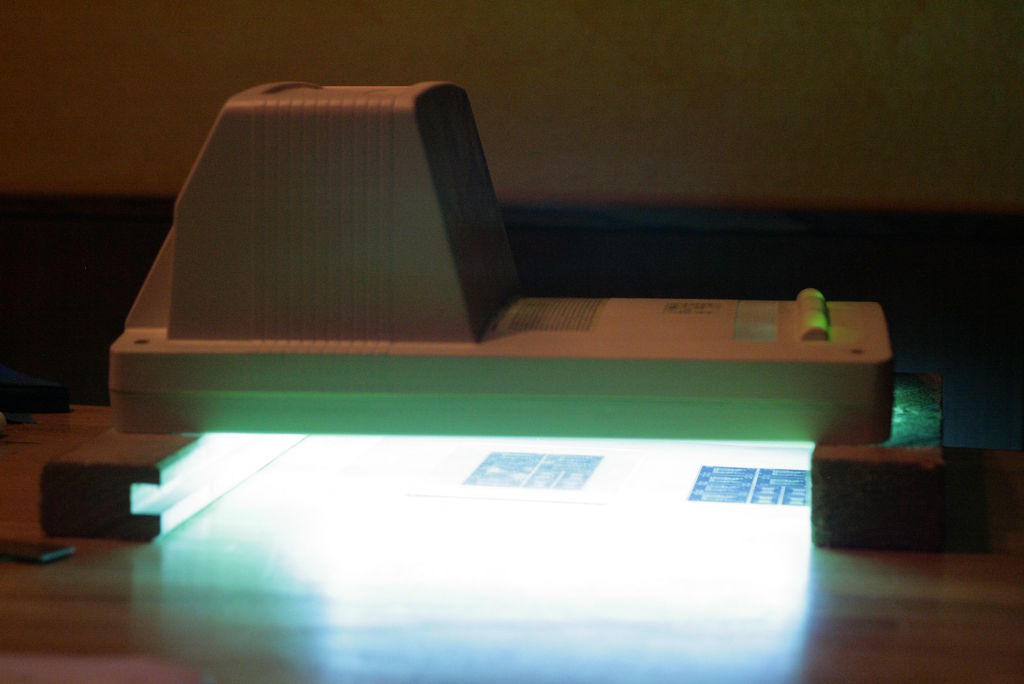
A better solution would be the 250W nitraphote bulb that I acquired just for this reason. It’s a standard bulb with an E27 thread, but it delivers more UV than a normal lamp would. Unfortunately, 250W tend to be very hot after a while, and I almost ruined my kitchen lamp trying to expose through a layout printed on paper. After all, using the overhead sheet made really good results after an exposure time of 10 minutes in a distance of 15cm.
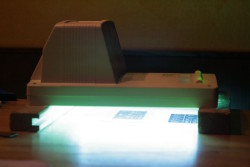
The best solution seems to be a facial tanner that I bought for 1,50 Euros — about a quarter of what I paid for the nitraphote lamp. It’s a Philips HB170, it has four tubes with 15W each. I turn it on for a few minutes, so the tubes are pre-heated. Then I put it face-down on two pieces of wood that are 3cm thick. Beneath it the stack consisting of the photo sensitive board, the printed layout and a glass plate. I turn the tanner on for two minutes and get great results — without risking to set the room on fire.
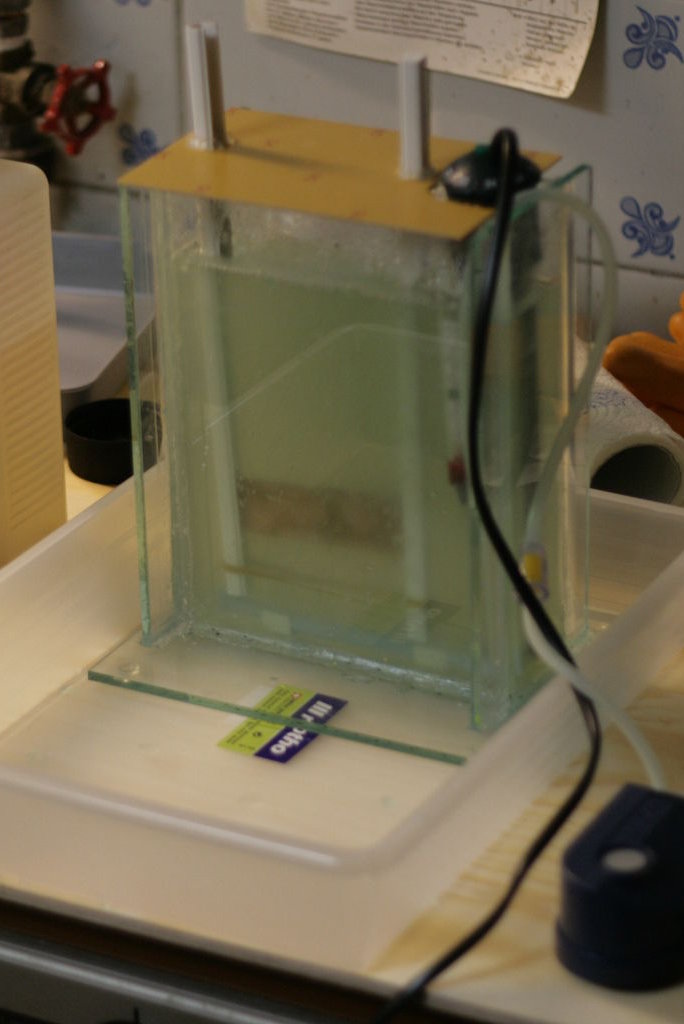
Etching
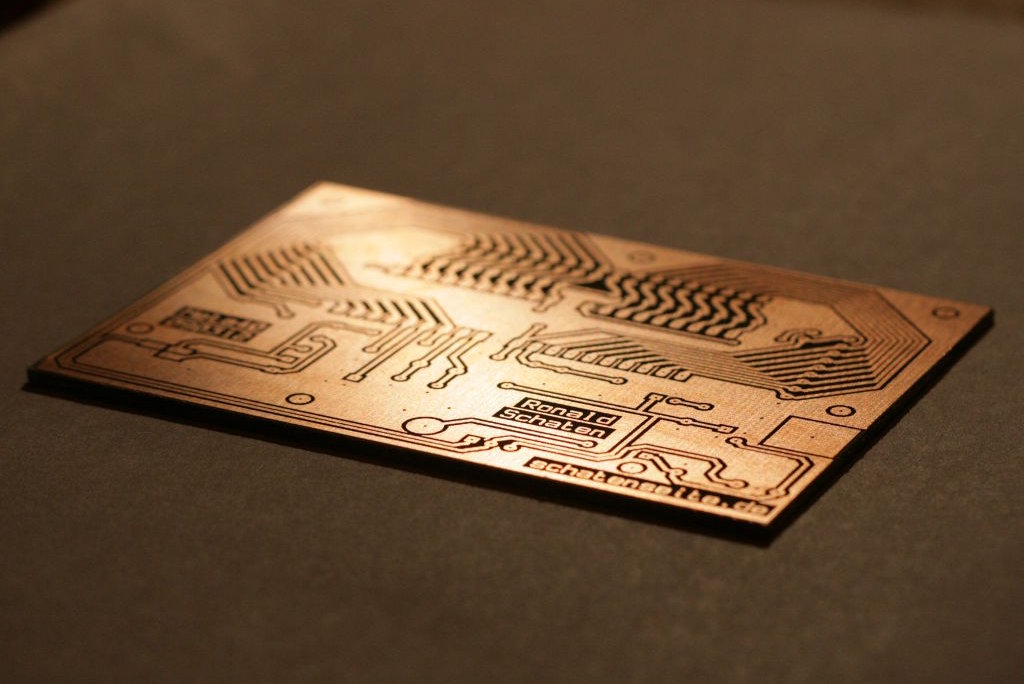
My first PCB
So I built my own etching tank. It was the cheapest solution since I already had some of the parts from my fish tank hobby. The etching tank consists of:
- some sheets of glass
- silicone
- aquarium heater
- aquarium glass thermometer
- aquarium air pump
- aqua-curtain air diffusor
- air hose
- parts of a cable channel (?) that hold the air diffusor and the board in place
- a plastic container to put underneath the whole thing, since this is the first time I ever glued glass…
The tank holds about one liter of etching solution (natrium persulfate). The size fits quite exactly for one full euro card (16x10cm), the process takes about 10 to 15 minutes.
I am more than happy with the results. I didn’t make any detailed tests yet, but till now I found all the fine structures on my boards that I wanted to be there.